Fix the Body Movement on the 58668 Volkswagon Type 2
The Volkswagon Type 2 bus is a fun little ride. It is based off the M06 chassis and uses long posts to mount the body. Because of this, the body tends to move around a bit when the bus is driving.
In this article, we show you how to replace the small stock foam bumper with a much larger one. This helps keep the body stable while you're crusing around with your VW Bus!
Things you'll need:
1. 58668 Tamiya Volkswagon Bus. Obviously.
2. 54819 Urethane Bumper XL
3. Hobby Knife with a new blade. Please be careful while using this - it can cut through fingers as easily as it does the foam.
3. Sharpie. Used to mark the holes in the new foam bumper.
4. Phillips-head screwdriver.
Ok, on to the install.
Step 1
 The first step is to remove the body and compare bumpers. You can definitely see the size difference in the two foam pieces.
Step 2
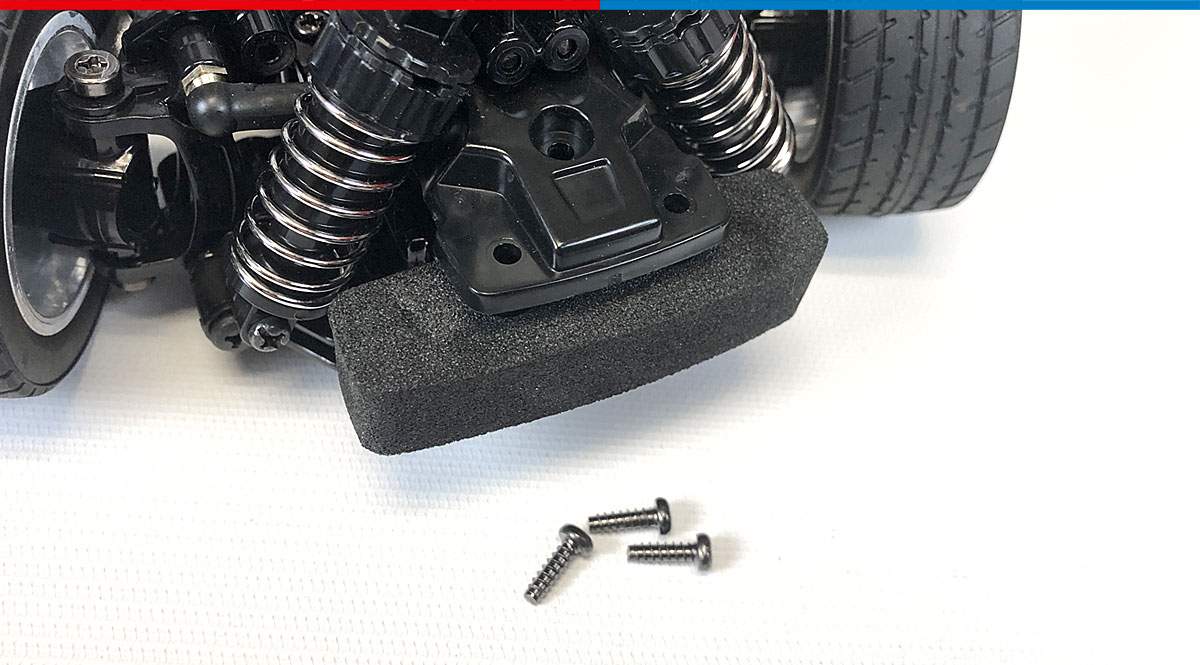 Remove the 3 screws in the upper bumper mount.
Step 3
 Flip your M06 over and remove the 2 screws on the bottom of the bumper mount.
Step 4
 While not completely necessary, it does make it a little easier if you remove the screws on both of the lower shock mounts.
Step 5
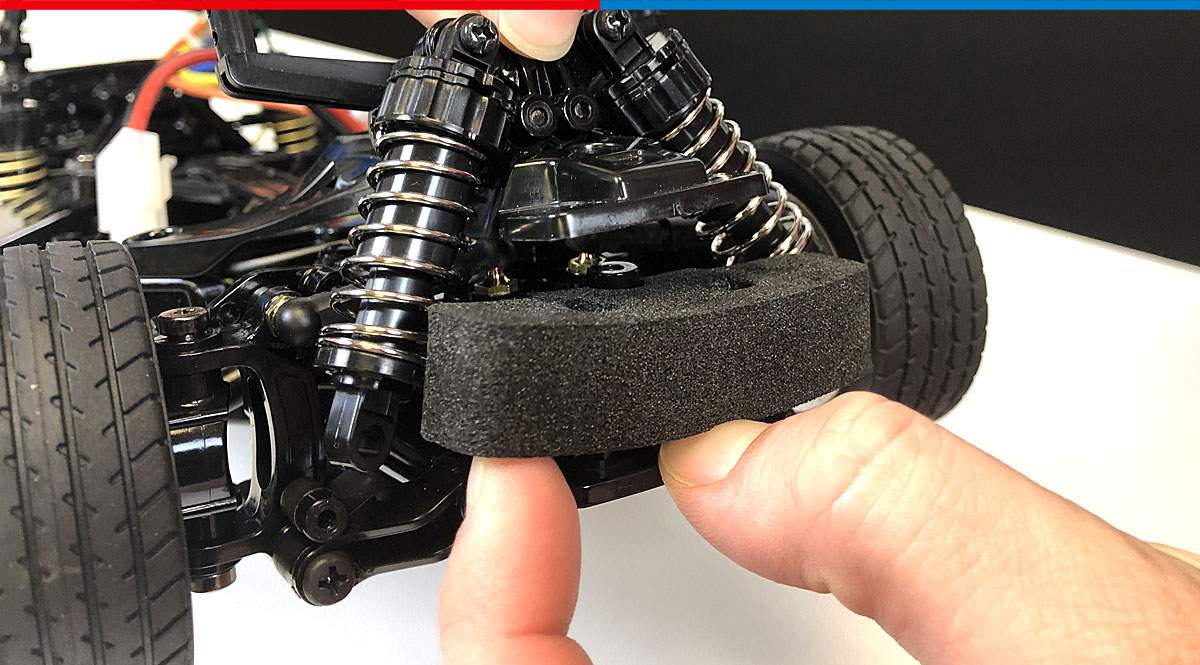 Carefully pull the bulkhead apart and slip the small foam bumper out.
Step 6
 Place the small foam bumper on top of the large one as shown. Using your Sharpie, slip it through the holes to mark the lower bumper.
Step 7
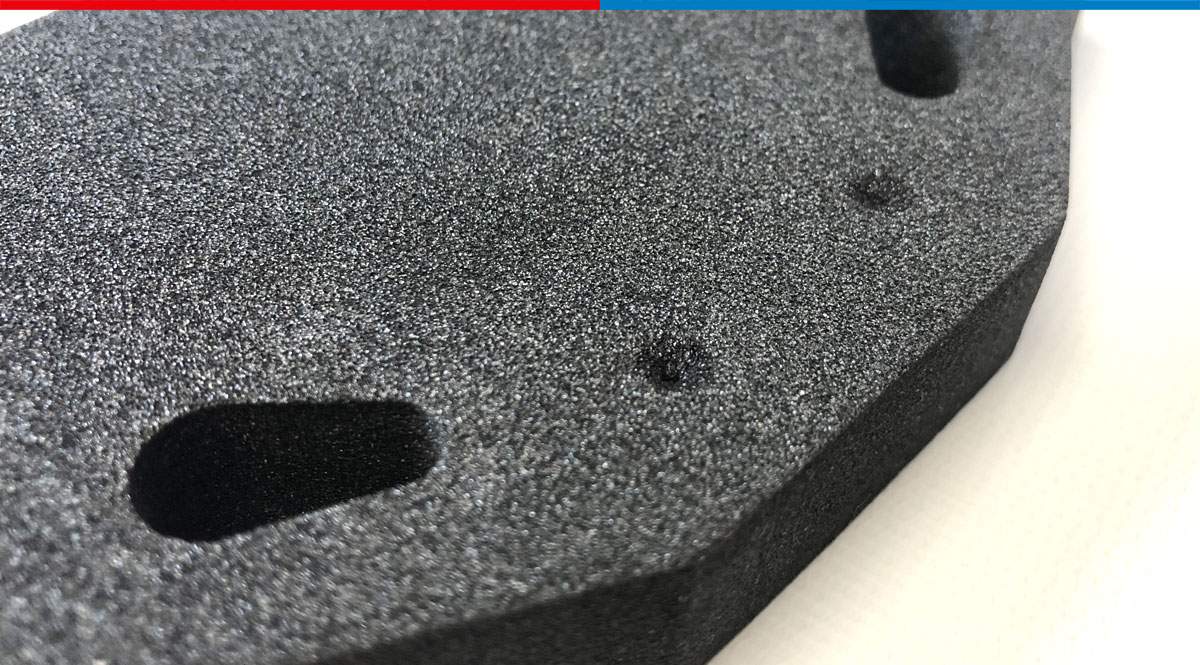 Remove the small foam bumper and you'll be left with two marked holes!
Step 8
 Using your hobby knife, carefully cut out the holes that you marked. When complete, carefully trace the contour of the small bumper into the large one, removing the foam material.
Step 9
 Your bumpers should look similar to this.
Step 10
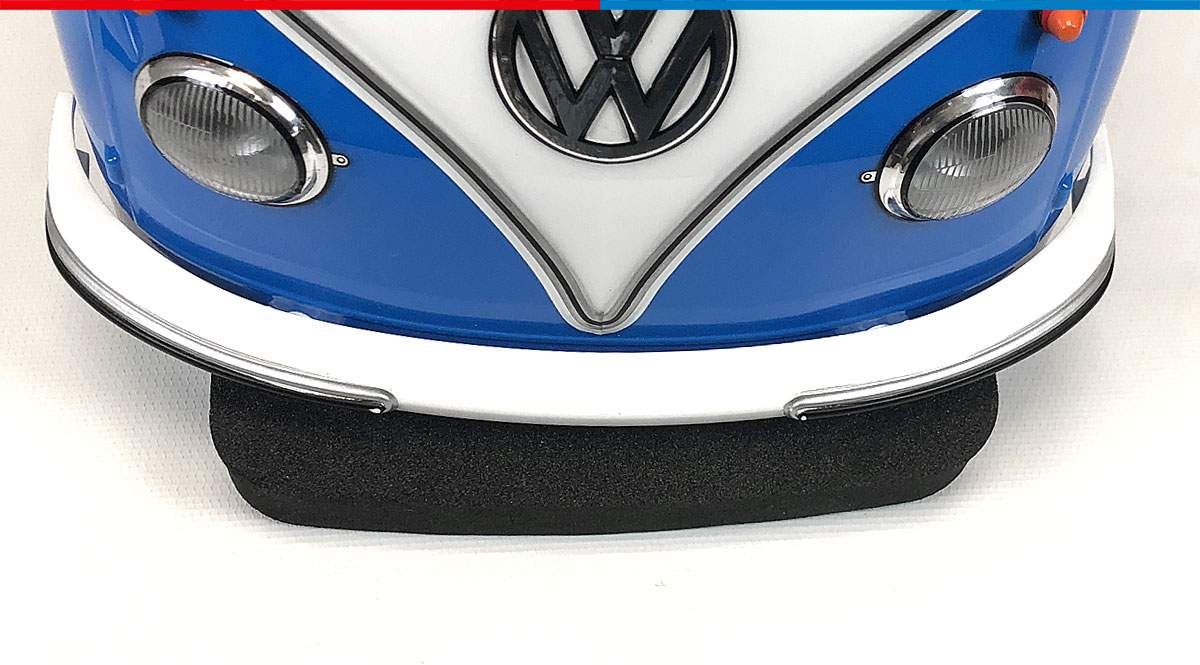 Install the large foam bumper in the same way you removed the small one. No need to re-install the screws yet; we'll get to that in a bit. This is just to test fit the bumper. You can see that it sticks out quite a bit; we're going to fix that right now.
Step 11
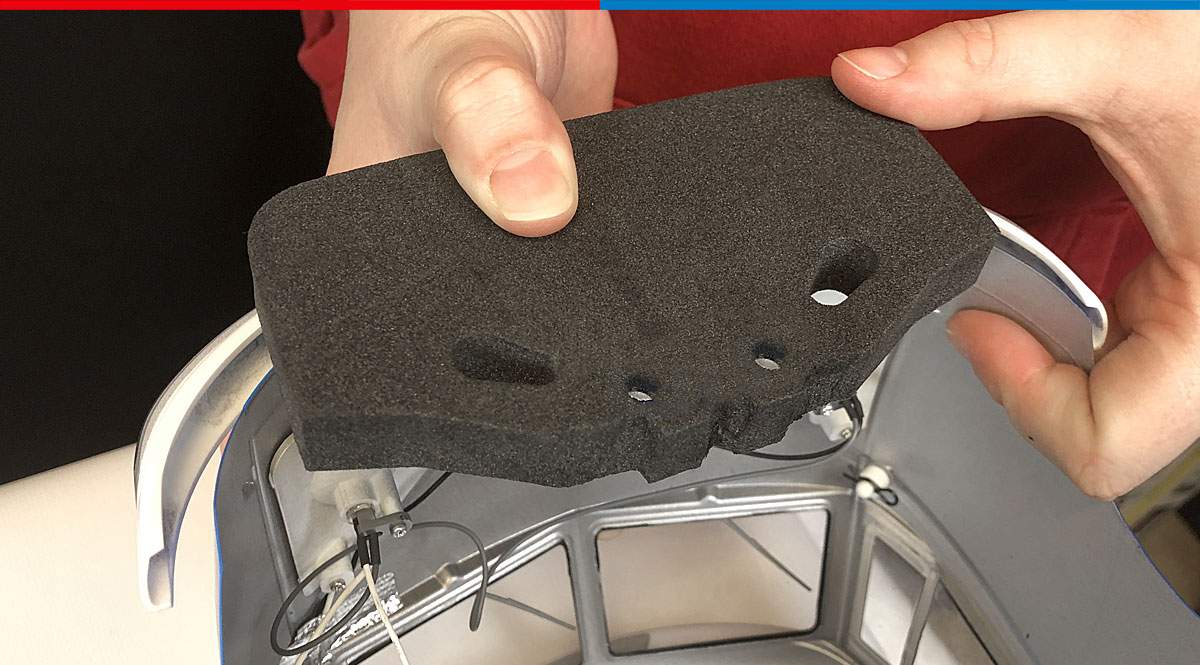 There are multiple ways to complete the next part, but one of the easiest we found was to press the body against the bumper (when it was mounted, like in Step 10).
Step 12
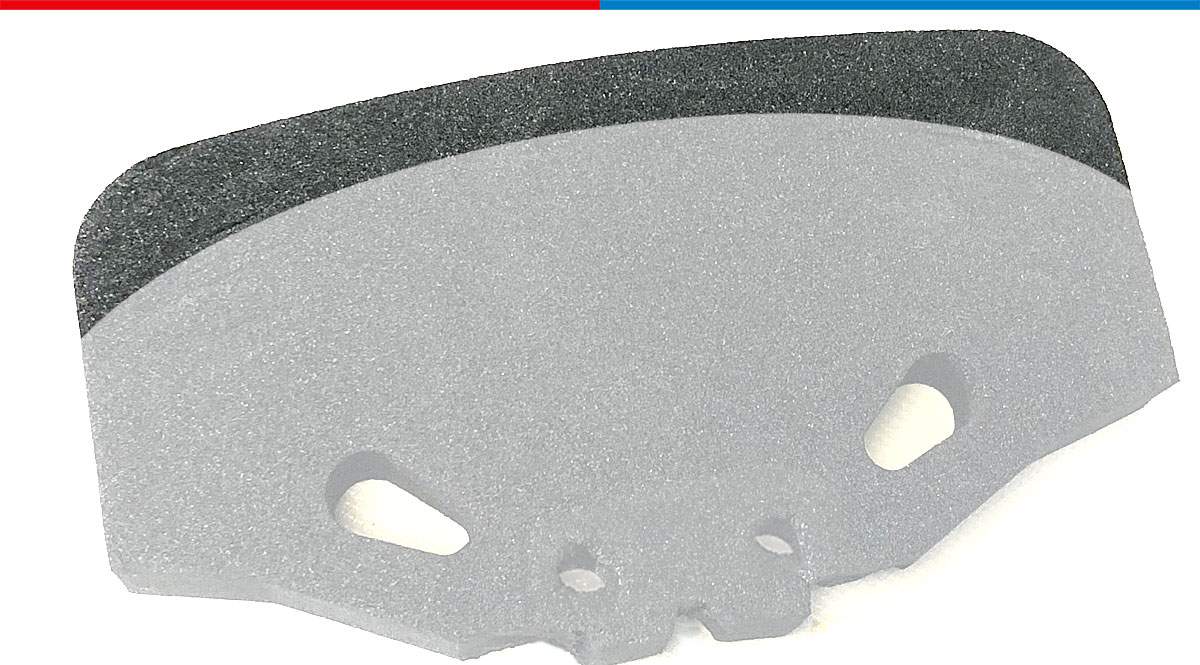 Once removed, the body left a slight indentation on the foam, giving us a nice, shaped curve. This was a good starting point for material removal.
BE CAREFUL!!! While you could just simply eyeball it, cutting to much off will result in a body that continues to wobble when you drive. Start by cutting off a small amount, test fit, then trim off more if needed. This will ensure that your foam bumper is only as small as it needs to be while still retaining enough foam to prevent body wobble.
Step 13
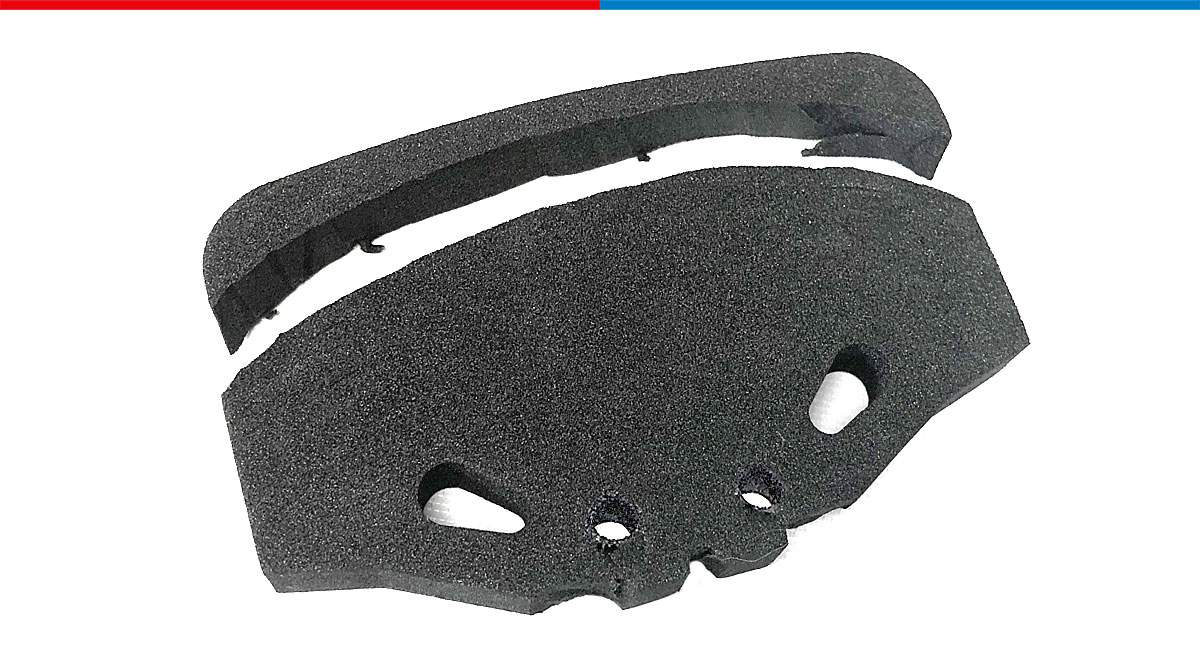 Here's a look at our first cut. We're not to worried about it being perfect just yet, we just want to make sure it's creates a nice, tight fit.
Step 14
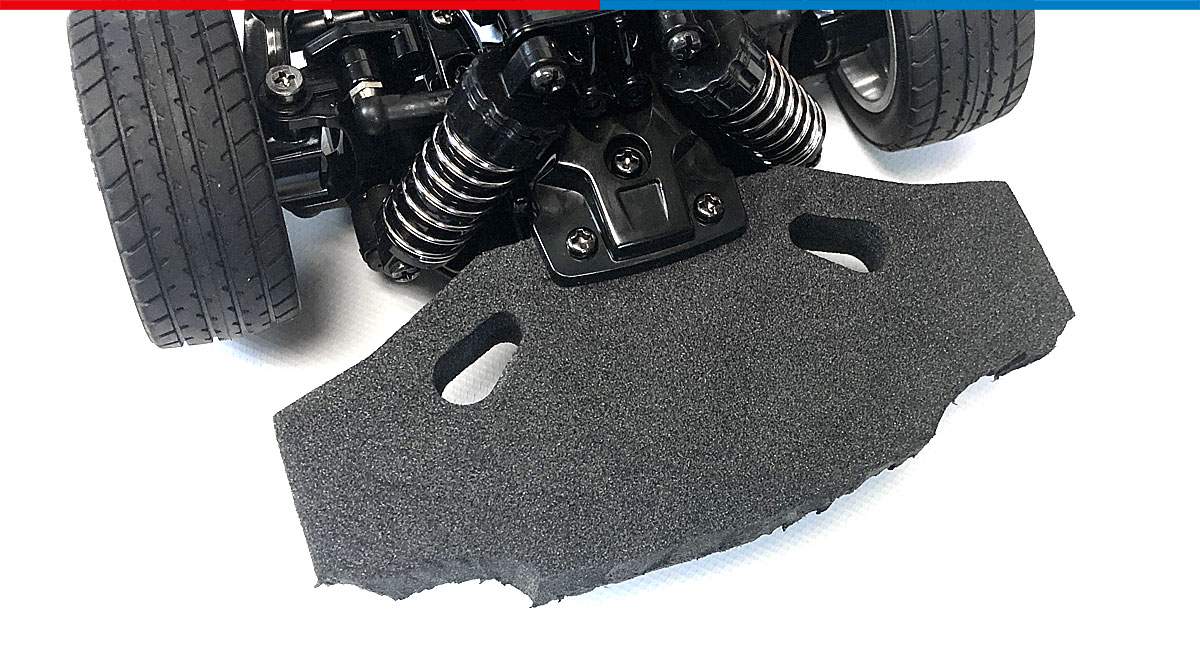 After a couple test fits, we found this to be just about right. Screws were re-installed to give it one last final test fit.
Step 15
 With the body back on, you can see our cut was pretty tight. We even massaged it a bit to leave room for the cosmetic front bumper mounts.
At this point, you're all done. That is, of course, if you're happy with the way things are. We took some extra time to clean up the front bumper with a Dremel, making it look factory fresh!
